Learn / Tools
8 Essential Hand Tools Every Woodworker Should Have
Build a practical woodworking hand-tool kit with nine essentials for accurate layout, controlled cutting, shaping, fitting, clamping, and sharpening.
By Evan Sklar · Updated · 10 minute read
The short answer
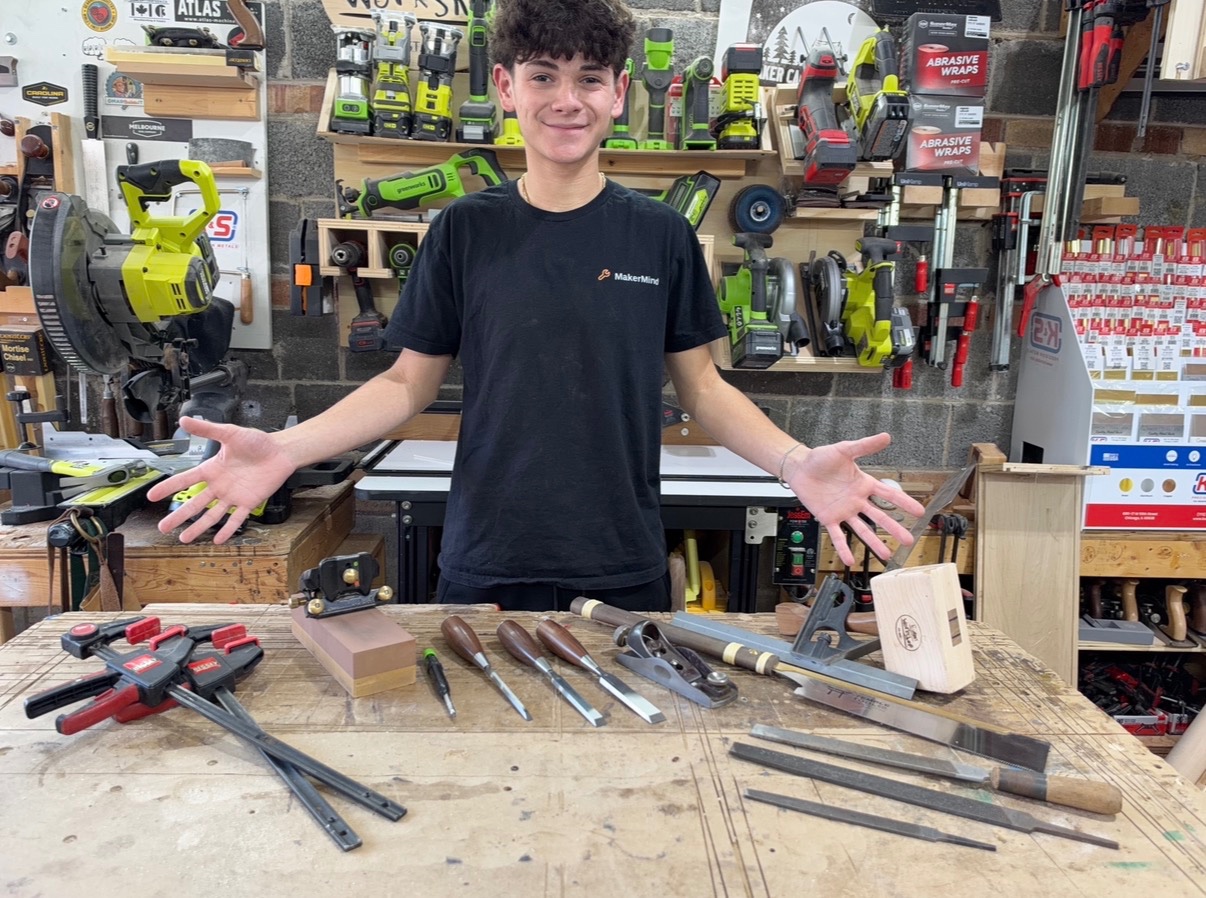
Every woodworker should have a dependable combination square, pencils, set of sharp chisels, a wooden mallet, a general-purpose handsaw, a block plane, several clamps, and a way to keep cutting edges sharp.
Start with tools that solve problems you regularly encounter. A smaller collection that you understand, maintain, and use confidently is more useful than a large collection purchased without a clear purpose.
1. Combination square
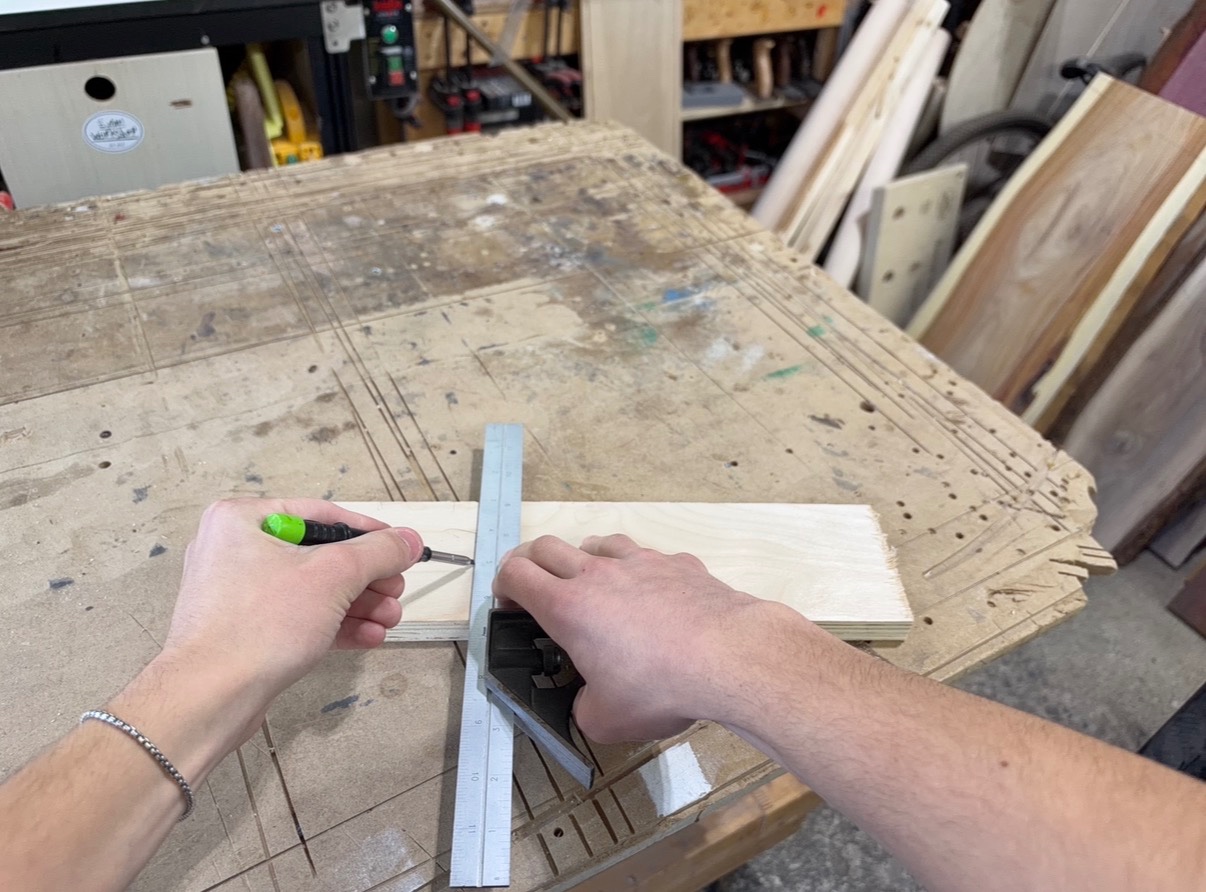
A combination square can check whether parts are square, mark 90-degree and 45-degree lines, measure short distances, transfer dimensions, and set the depth of tools or machine components.
Before trusting one, test it against a straight factory edge. Draw a line, flip the square over, and draw a second line from the same starting point. If the lines separate, the square may need adjustment or replacement.
A dependable combination square is worth prioritizing because an inaccurate reference tool can introduce the same error into every part of a project.
2. Pencils
A standard pencil works well for rough layout, project notes, and marks that need to remain visible. A mechanical pencil can create a finer, more consistent line for detailed work.
Use a pencil when visibility and convenience matter. Use a marking knife when the exact edge of a mortise, tenon, dado, or other fitted joint matters. Guide the knife against a stable square or straightedge, keep your supporting hand away from its path, and make several light passes instead of forcing one deep cut.
3. Chisels
Chisels are useful for cleaning corners, trimming joinery, removing small amounts of material, squaring routed recesses, and correcting parts that are slightly too tight.
A beginner does not need a large matching set. Approximately 1/4-inch, 1/2-inch, and 3/4-inch chisels—or similar metric sizes—make a practical starting group for common trimming and joinery work.
Sharpness matters more than the number of chisels you own. A dull chisel requires more force, is harder to control, and can tear the wood instead of cutting it cleanly. Secure the workpiece, keep both hands behind the cutting edge, direct the tool away from your body, and never use a woodworking chisel as a screwdriver or pry bar.
4. Wooden mallet
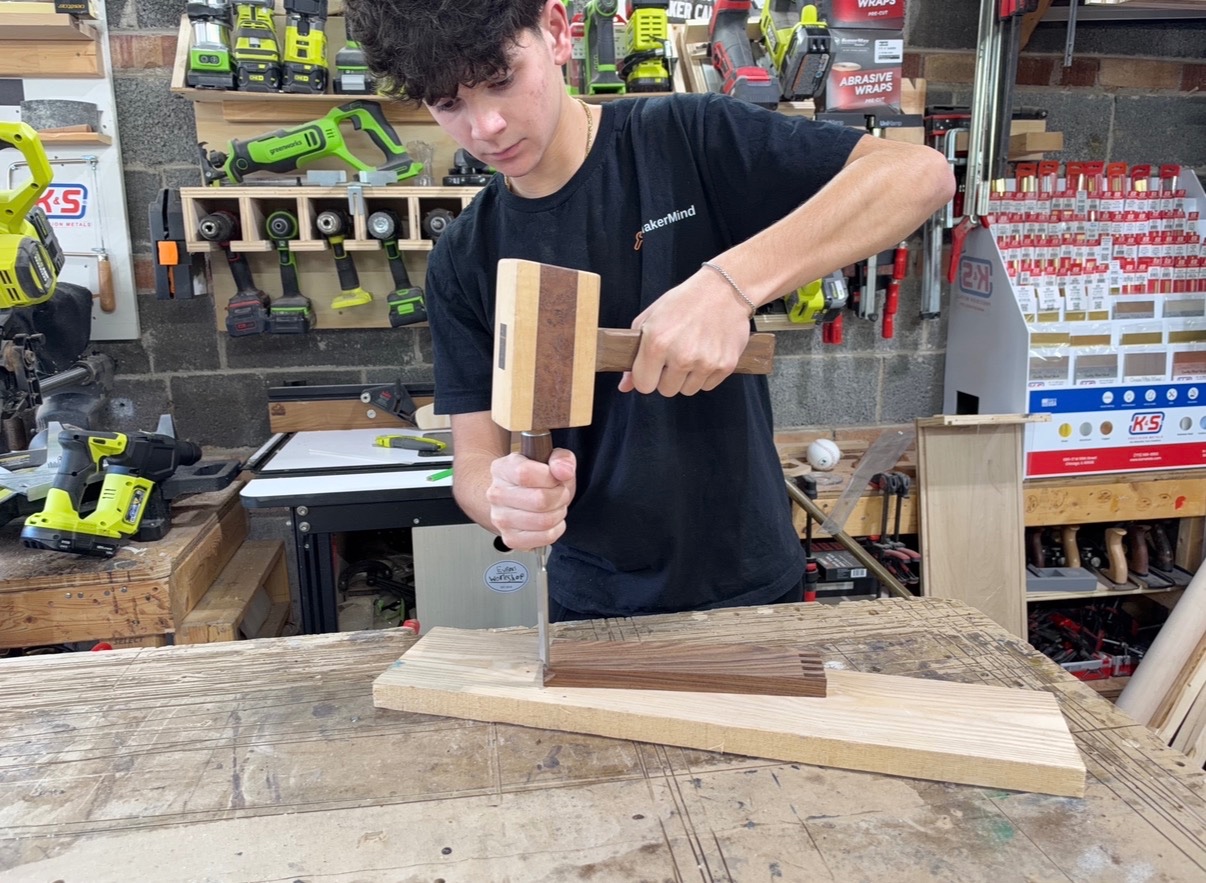
A wooden mallet delivers controlled force without damaging a wooden-handled chisel as quickly as a steel hammer might. It is useful for chopping joinery, assembling parts, seating joints, and gently adjusting a project during a dry fit.
The larger wooden head spreads the impact across a wider area. Its flat striking faces also make it easier to deliver repeatable blows without needing to hit a small target perfectly.
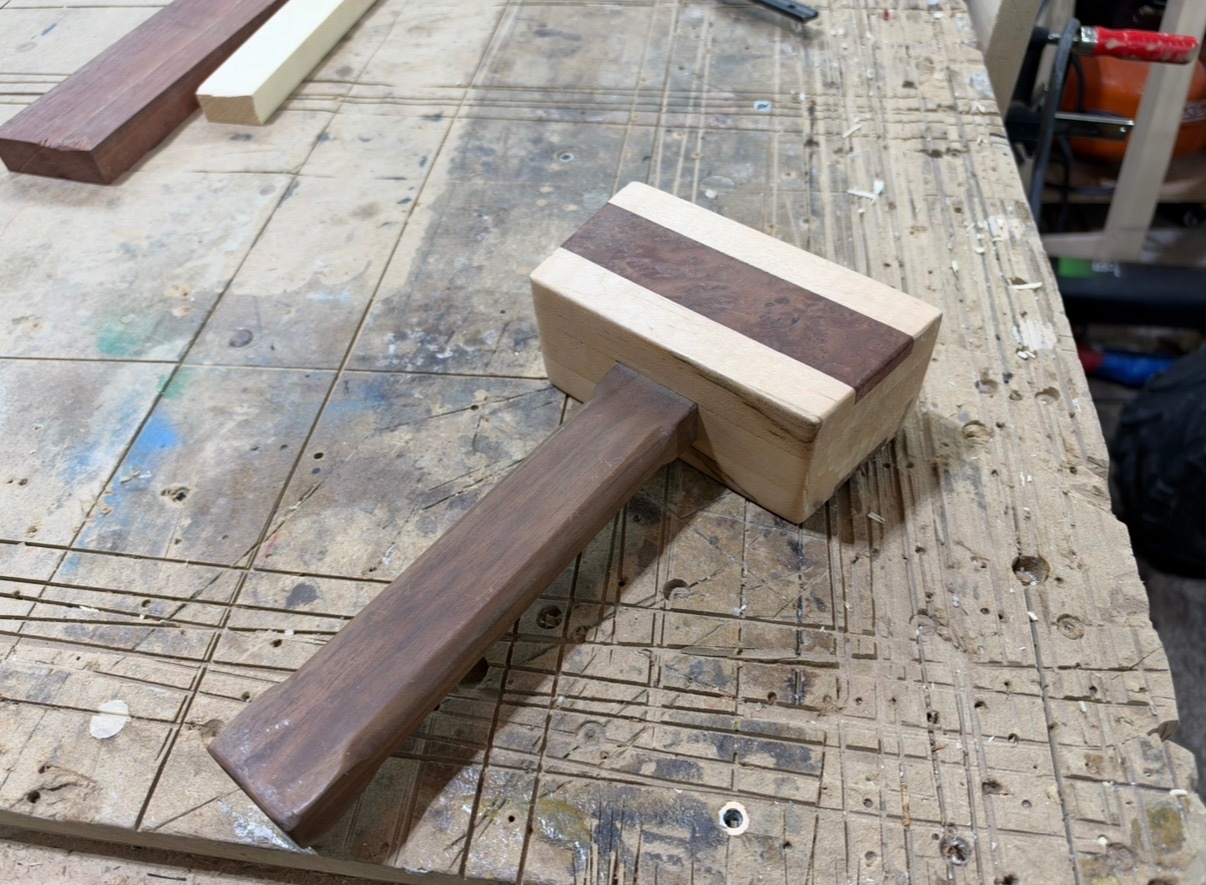
Avoid striking a chisel with more force than the task requires. Accurate chisel work usually comes from a series of controlled cuts rather than one heavy blow. A mallet is also an excellent workshop project because it introduces laminating, handle shaping, wedged joinery, careful fitting, and basic hand-tool work.
5. Japanese saw or general-purpose handsaw
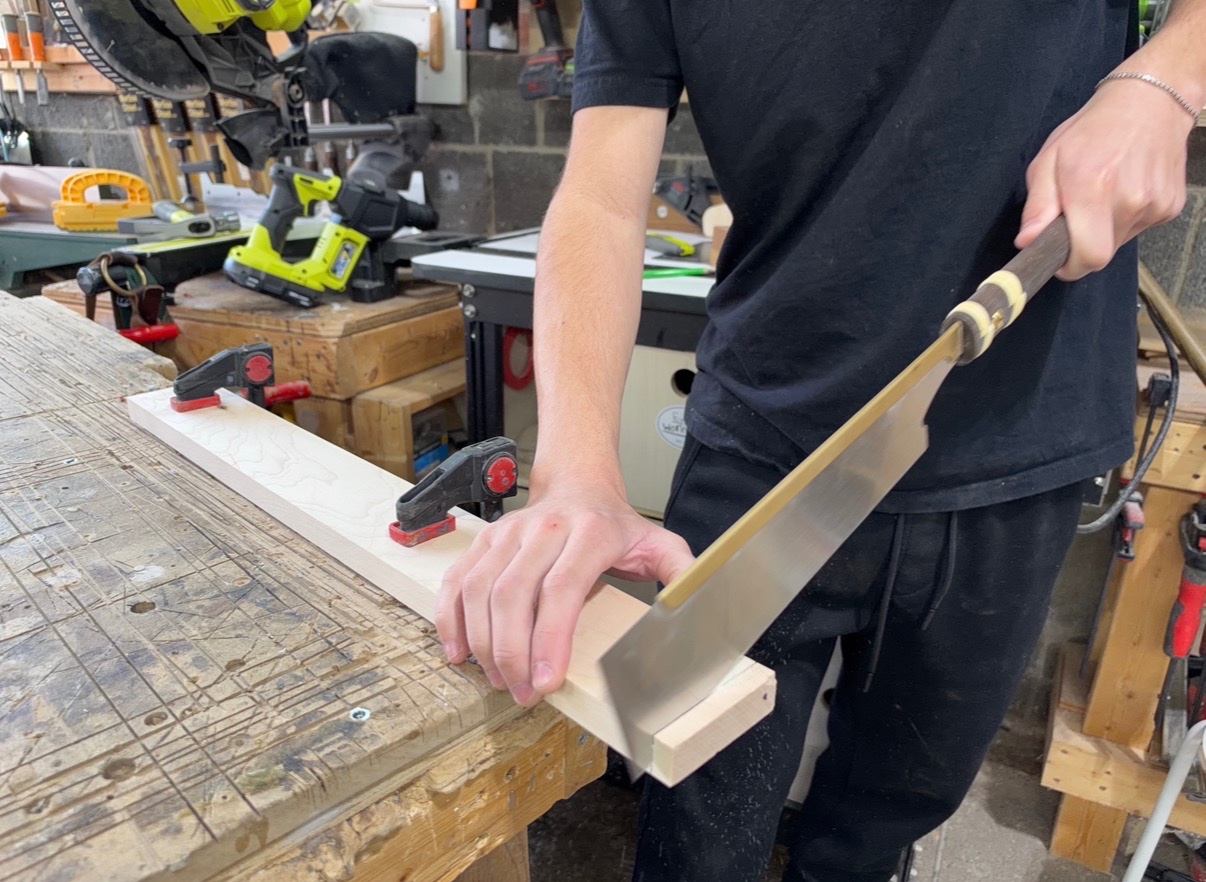
A handsaw is often faster and more convenient than setting up a power tool for one small cut. It is also useful when a workpiece is awkward to move, the cut is in a confined location, or you want greater control near a finished surface.
A Japanese-style pull saw is a useful first saw for many beginners. Its thin blade cuts on the pull stroke and can make controlled crosscuts and rip cuts with relatively little effort. Traditional Western-style handsaws cut on the push stroke and are available in many configurations. Either style can work well, so choose one that feels comfortable and matches the cuts you expect to make.
Let the teeth perform the work. Begin with short, light strokes and use more of the blade once the cut is established. Forcing or twisting the saw can pull it away from the layout line or damage the blade.
6. Block plane
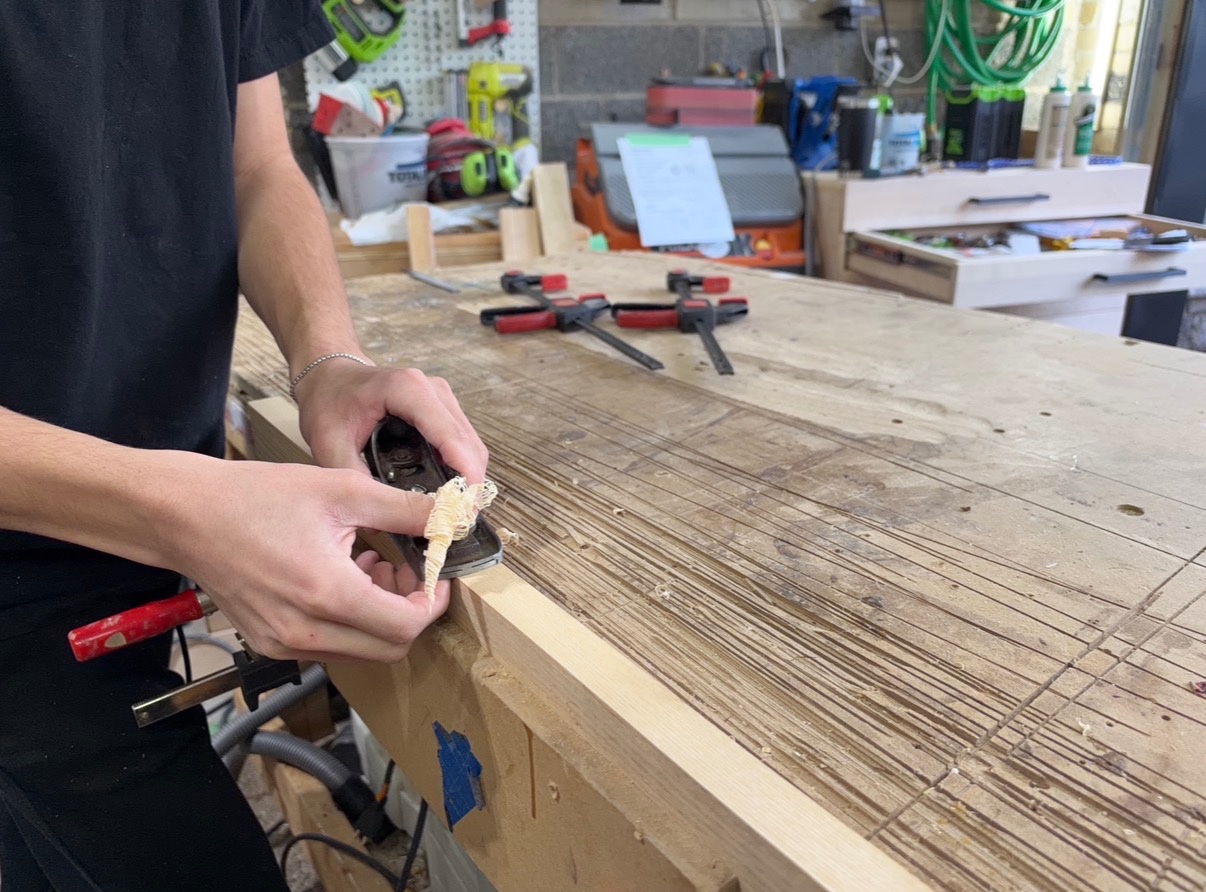
A block plane removes thin shavings from edges and end grain. It can ease a sharp corner, trim a proud joint, correct a slightly oversized part, and refine an edge more cleanly than aggressive sanding.
The blade must be sharp, and the plane should be adjusted for a light, controlled cut. Test it on scrap before touching a finished component.
Pay attention to grain direction. Planing against the grain can lift and tear wood fibres. When working near the end of an edge, plane inward from both ends to reduce the chance of breaking out a corner. A block plane may not be required for your first project, but it quickly becomes valuable once you begin fitting parts together.
7. Clamps
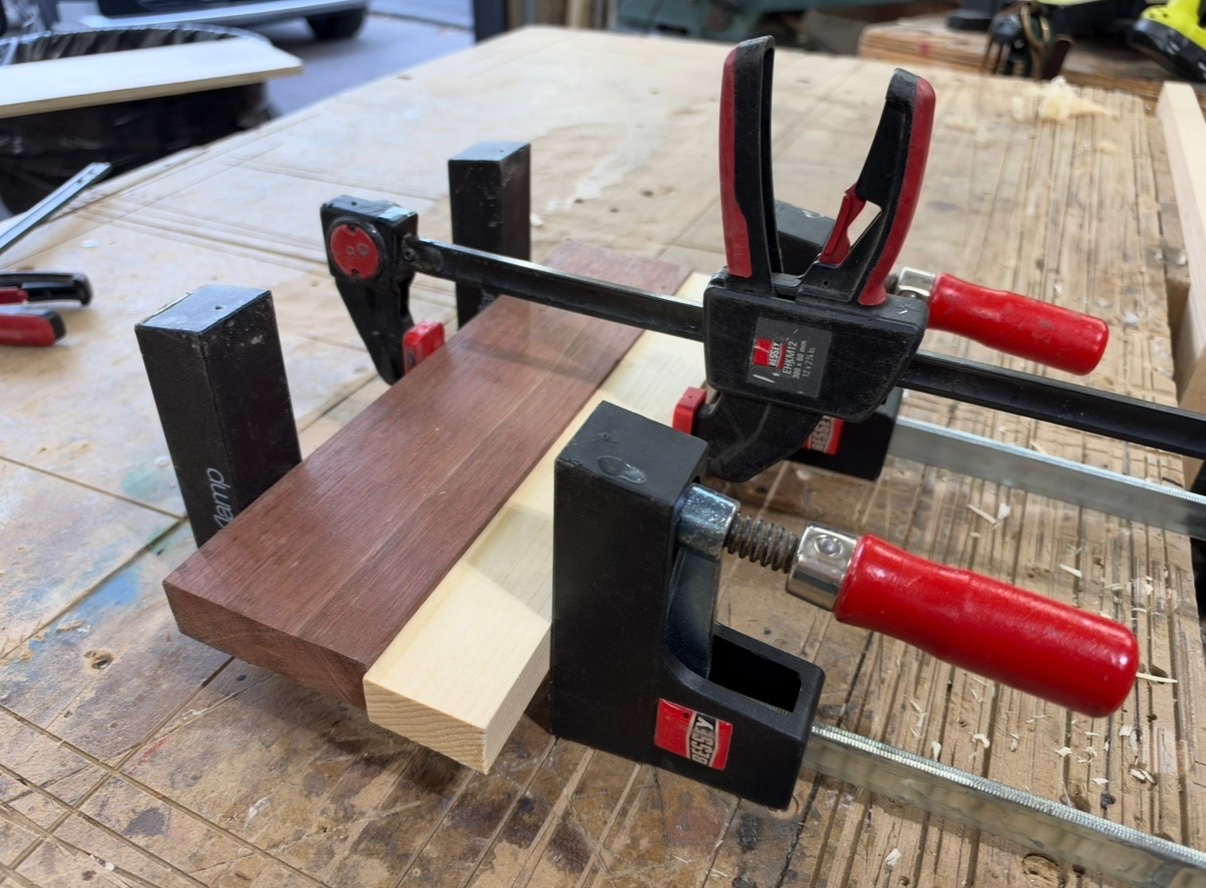
Clamps are work-holding tools, but woodworking becomes extremely difficult without them. They hold assemblies together while glue cures, secure guides and jigs, prevent workpieces from shifting, and make many hand-tool operations safer.
A practical starting collection might include several small quick-grip clamps and a few longer bar or parallel clamps. Add specialized clamps when a project requires them.
More pressure is not always better. Excessive clamping force can bow panels, move parts out of alignment, or squeeze too much glue from a joint. Apply only enough pressure to close the joint and keep the assembly stable, then check the project for square before the glue begins to set.
8. Sharpening equipment
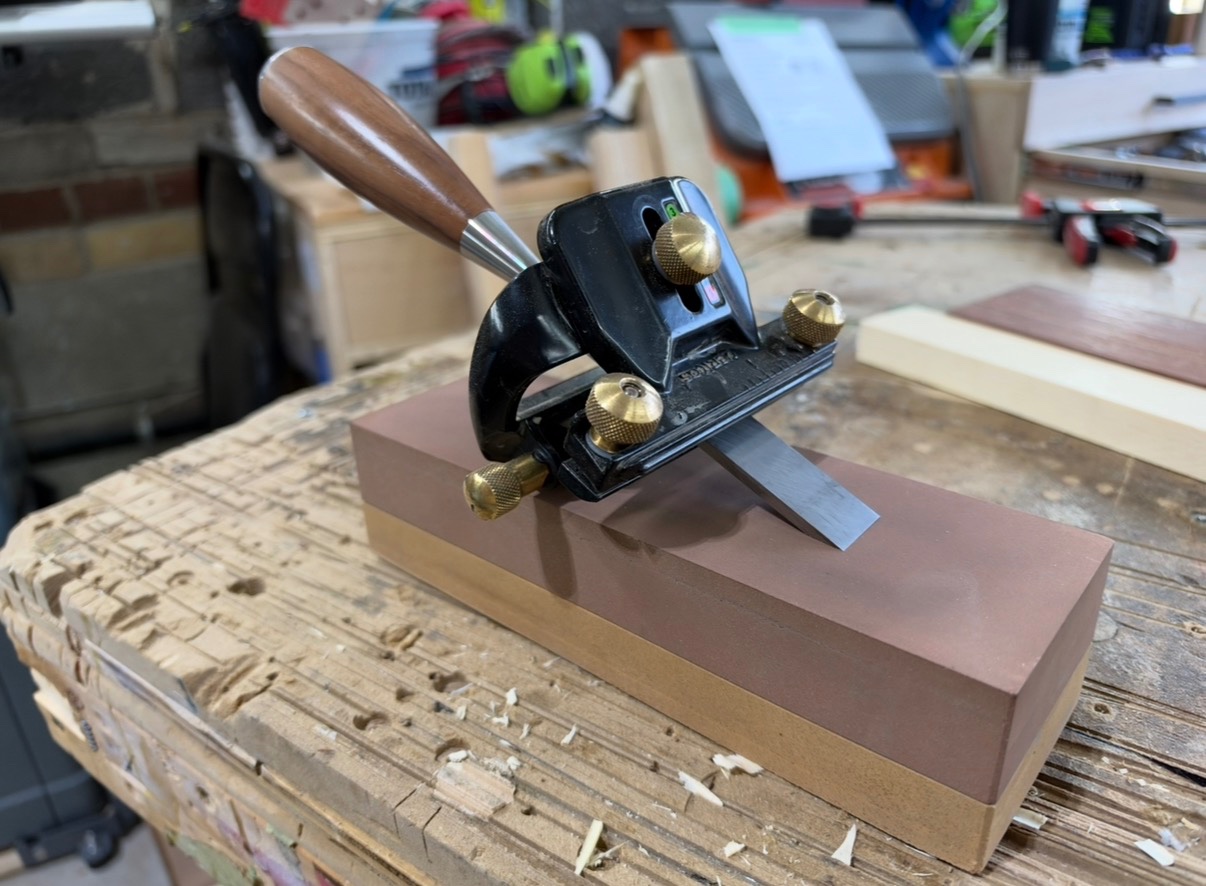
Chisels and planes only perform properly when their cutting edges are maintained. A basic sharpening setup is therefore part of the tool kit—not an optional accessory.
Several systems work well, including water stones, diamond plates, oil stones, and abrasive paper on a reliably flat surface. A honing guide can make it easier for a beginner to maintain a consistent bevel.
Choose one straightforward system and learn how to use it before buying multiple sharpening products. Consistency matters more than having the most elaborate setup. If a chisel or plane requires excessive force, stop and inspect the edge rather than pushing harder.
- Inspect tools before every use and remove damaged tools from service.
- Keep cutting edges clean, sharp, and protected during storage.
- Add specialty tools when a real project repeatedly exposes the same limitation.
- Choose accuracy, comfort, and serviceability over price or collection size alone.
Frequently asked questions
What hand tools should a beginner woodworker buy first?
Begin with a combination square, pencils, a marking knife, a few chisels, a wooden mallet, a general-purpose handsaw, clamps, and a sharpening system. Add a block plane, rasps, and files as your projects require more fitting and shaping.
Do I need expensive woodworking hand tools?
No. Accuracy, comfort, sharpness, and condition matter more than price alone. Some inexpensive tools work very well after proper setup, while a costly tool can still perform poorly if it is dull or incorrectly adjusted.
Which chisel sizes are most useful?
Approximately 1/4-inch, 1/2-inch, and 3/4-inch chisels—or similar metric sizes—cover many common trimming and joinery tasks. Add other sizes when a specific project requires them.
Should I buy a hand plane as a beginner?
A block plane is a useful first plane because it can ease edges, trim small parts, and work on end grain. Accurate marking tools, chisels, clamps, a saw, and sharpening equipment are generally higher priorities for a brand-new workshop.
Is a Japanese pull saw better than a Western handsaw?
Neither style is automatically better. Japanese saws cut on the pull stroke and usually have thin blades, while traditional Western saws cut on the push stroke and often have stiffer blades. Choose the style that feels most natural and suits the work you intend to do.
Why do sharp tools matter so much?
A sharp edge cuts wood with less force and gives you greater control. Dull tools are more likely to slip, crush fibres, or produce a rough surface.